This is part 3 of my blog post series about emulating BSD operating systems for 32-bit ARM with QEMU. Buckle up, today we will need to do an actual OS installation!
In OpenBSD/armv7, the miniroot image is an installer, so we also need a new empty drive image to install to. I recommend the qcow2 format, since it consumes only the space that is actually occupied. The 10G image created below is only 192 kilobytes initially. Here is how you create the root image:
qemu-img create -f qcow2 root.qcow2 10G
Next, we will need the pflash0.img and pflash1.img files created in the
previous part.
As for the install image, there are several choices on the
download page for OpenBSD 7.6/armv7.
I went with miniroot-cubox-76.img but I don’t think it matters much which one
you choose. They only differ in the platform-specific bootloader, and we will
be booting from UEFI instead anyway.
Note that when booting, you might get an error message complaining that the size of the image is not a power of two. If that happens, just resize it to the next bigger one:
qemu-img resize miniroot-cubox-76.img 64M
Running the installer
Here is the command line to launch the installer then:
#!/bin/sh
qemu-system-arm \
	-M virt \
	-m 1024 \
	-nographic \
	-drive file=miniroot-cubox-76.img,format=raw \
	-drive file=root.qcow2,format=qcow2 \
	-drive file=pflash0.img,format=raw,if=pflash,readonly=on \
	-drive file=pflash1.img,format=raw,if=pflash \
	-device virtio-gpu-pci \
	-nic user,model=rtl8139
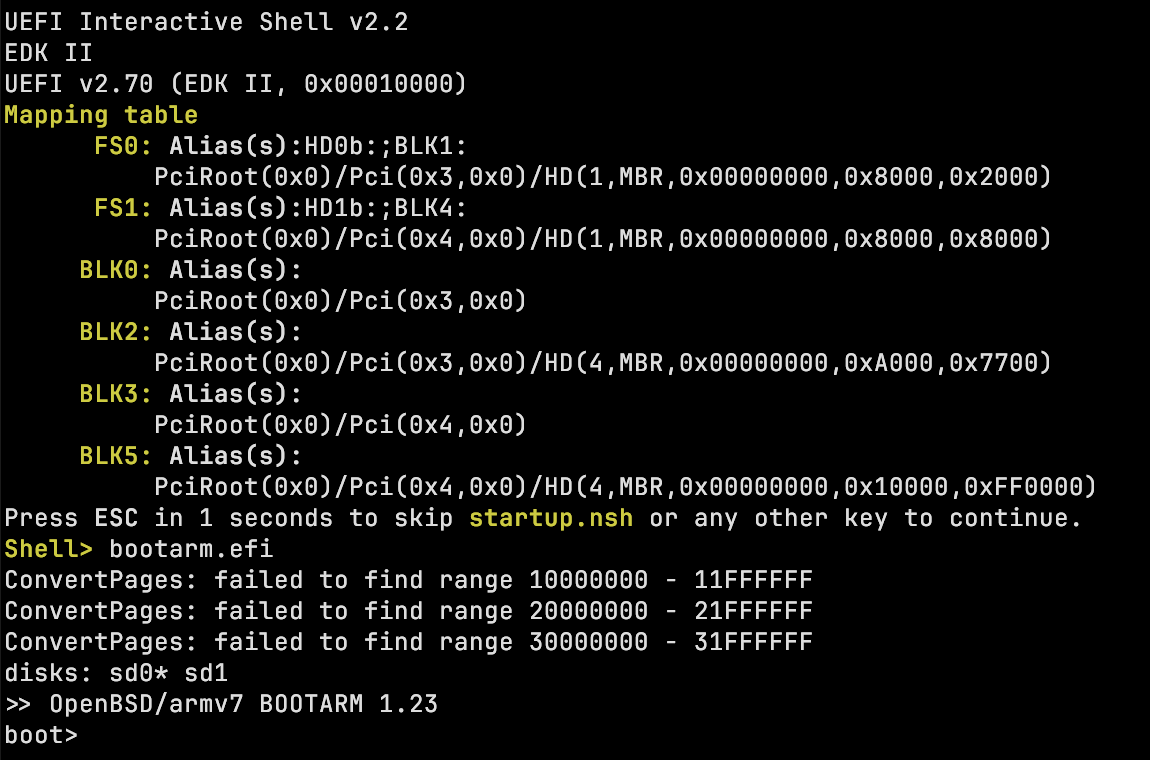
This time, we don’t have to type anything in the UEFI shell, it loads the
bootloader directly, followed by the OpenBSD installer! At the boot> prompt,
just press Enter.

Booting OpenBSD from UEFI
I won’t go over the steps to install OpenBSD itself. The only thing to keep in
mind is that OpenBSD calls the boot image (the miniroot) sd0 and the root
disk we created sd1, so be sure to install onto sd1.
As always, you can get out of QEMU and back to the terminal by “powering down”,
e.g. running halt -p from a shell.
After installation
To boot your newly installed system, use the exact same QEMU command line as
before, except that you remove the miniroot disk entry:
#!/bin/sh
qemu-system-arm \
	-M virt \
	-m 1024 \
	-nographic \
	-drive file=root.qcow2,format=qcow2 \
	-drive file=pflash0.img,format=raw,if=pflash,readonly=on \
	-drive file=pflash1.img,format=raw,if=pflash \
	-device virtio-gpu-pci \
	-nic user,model=rtl8139
A dmesg output of this freshly installed system can be found
here. Notably, it looks
like the virtio GPU is not supported, so I am not sure if you can get X11 to
work.
When I did this installation, a short time after the OpenBSD 7.6 release, there were no binary packages avaiable for 32-bit ARM. But it looks like this has changed! There is a full set of packages in https://cdn.openbsd.org/pub/OpenBSD/7.6/packages/arm/ now, so that a command like
pkg_add vim
will just work. That’s nice!
Some thoughts on machine types and emulation
When I started fiddling with this, I tried to get qemu to emulate a real machine corresponding to one of the OpenBSD miniroot image. But that’s fairly limiting: these boards came with too little RAM, too slow storage, too few cores, all of it.
The nice property of an emulator like QEMU is that you can kind of build your
own machine from scratch. The virt machine type is a generic thing that you
can build out just like you want it. Want 8G of RAM? More cores? No worries!
You can add a bunch of virtio devices that are virtualization-aware; if one of
them doesn’t work right, replace with some other emulated hardware. This is
also why my command lines above use an rtl8139 network device instead of a
virtio-net.
And for booting this contraption, using the EDKII UEFI firmware allows just booting a generic kernel and bootloader, which is supported almost everywhere.
And that concludes my series of blog posts on emulating ARM systems with QEMU. I hope you enjoyed it!
For reference, here are links to the other parts in the series: